How to Mirror Android to PC Using USB or WiFi
23 Sep, 2026
192 Views 0 Like(s)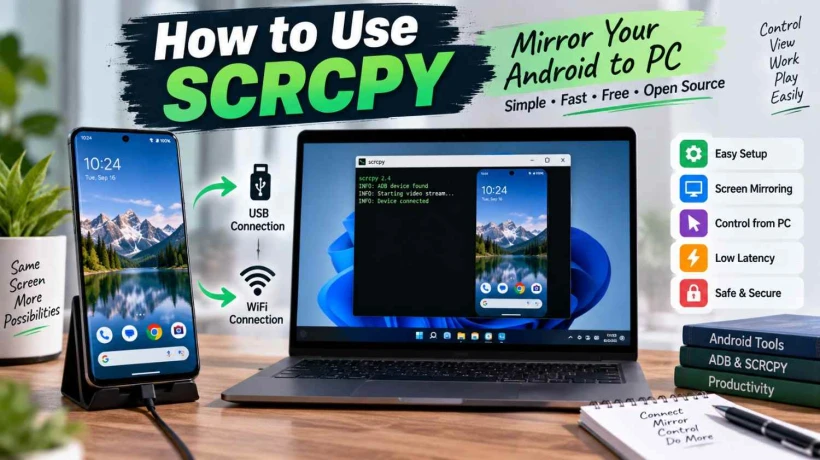
Learn how to mirror an Android phone to a PC using USB or WiFi, with simple SCRCPY setup steps, USB debugging, ADB, wireless pairing, and troubleshooting tips.
Most people find out about screen mirroring the hard way, usually after typing a long message on a tiny keyboard for the tenth time that day. There is a much easier way to handle this, and it does not involve installing a shady app from an unknown developer.
The tool worth knowing about is Scrcpy. It is free, open source, and lets you control your entire Android phone from your computer screen using either a USB cable or your WiFi network.
Why This Tool Stands Out From the Rest
A lot of mirroring software out there asks for a subscription after a short trial, or worse, routes your screen through a remote server somewhere. That adds lag and raises real questions about where your data is actually going.
Scrcpy skips all of that. It creates a direct connection between your phone and your computer using ADB, the same protocol developers rely on to test apps. No servers involved, no account needed, and no root access required on your phone.
Getting Your Computer and Phone Ready
Your computer needs to run Windows, Mac, or Linux, and your phone needs Android 5.0 or later. That covers nearly every device made in the past several years, so compatibility is rarely an issue.
There is one setting you need to switch on before anything else works, and it is hidden by default on every Android phone.
Unlocking Developer Options
Go into Settings on your phone, then tap About Phone. Scroll down to find the Build Number and tap it seven times in a row. A short message will confirm that developer mode is now unlocked.
Head back to the main Settings menu and open Developer Options. Find USB Debugging in the list and turn it on. You can switch this off again anytime once you are done using Scrcpy.
Setting Up Scrcpy on Windows, Mac, and Linux
Windows users can grab the latest release directly from the official GitHub page. Extract the folder anywhere convenient, and you will find an executable file inside that runs the moment your phone is connected.
Mac users need Homebrew first, which is a simple package manager for installing command line tools. Once Homebrew is ready, one line in Terminal does the rest:
brew install scrcpy
Linux users usually have it even easier. Ubuntu and Debian based systems can run sudo apt install scrcpy, while Snap based systems can use sudo snap install scrcpy instead.
Connecting Through USB First
Starting with a USB connection is the most reliable way to begin, even if you plan to switch to WiFi later. Plug your phone into your computer with a standard USB cable.
A prompt will show up on your phone asking if you trust this computer for debugging purposes. Tap Allow. Then open a terminal window on your computer, type scrcpy, and hit enter.
Your phone screen will appear on your monitor within a second or two, fully controllable with your mouse and keyboard right away.
Moving to a Wireless Connection
Once the USB connection has worked at least once, going wireless takes only a few more steps. Keep your phone plugged in and type this command:
adb tcpip 5555
Now check your phone's IP address, which is usually found under Settings, WiFi, then tapping your connected network. Type the command below, using your actual IP address in place of the example:
adb connect 192.168.x.x:5555
After that connects successfully, unplug the cable. Type scrcpy one more time, and your screen will now mirror wirelessly as long as both devices stay on the same WiFi network.
Deciding Between USB and WiFi for Daily Use
USB tends to win when speed matters most, like gaming or recording something that needs to look smooth. There is basically no lag, since the connection runs directly through the cable instead of over a network.
WiFi is more convenient for everyday tasks. You can leave your phone charging in another room and still reply to messages or check notifications from your computer without needing to touch the cable at all.
Most people end up mixing both, using WiFi for casual use throughout the day and switching to USB only when precision or speed becomes important.
What You Can Do Once It Is Running
Your mouse handles most basic controls once mirroring starts. A left click works as a tap on the screen, right click acts as the back button, and there is even a shortcut to jump straight back to your home screen.
Typing on your computer keyboard sends text directly into any app open on your phone, which beats tapping out long replies on a touchscreen every time. A few built in shortcuts also let you grab a quick screenshot or toggle the screen on and off without touching your phone at all.
Recording Your Screen Without Extra Software
Scrcpy also handles screen recording on its own, so there is no need to download a separate app for that. Adding one flag to the command saves a video recording directly to your computer, with nothing stored on your phone.
This comes in handy for tutorials, saving clips from mobile games, or documenting a bug for a support request.
Where to Go If You Get Stuck
The commands are simple once you get the hang of them, but the first attempt can feel confusing if you have never used a terminal before. This guide on How to Use SCRCPY breaks down every step in more detail, including fixes for common connection problems that trip people up early on.
Final Thoughts
Setting up Scrcpy takes only a few minutes, and once it is running, it quickly becomes one of those tools you use without even thinking about it. Start with a USB connection to get comfortable, then move to WiFi once everything is working the way you expect.
Either way, you end up with a fast, free, and private way to control your Android phone right from your computer screen.


Comments
Login to Comment